I have been a bit delinquent in writing these. The last week and a bit have been hectic, lots of stuff happening outside of work which has taken away from the normal tinkering schedule. So I am doing a ‘0X’ post to cover the work over the last 10 days or so.

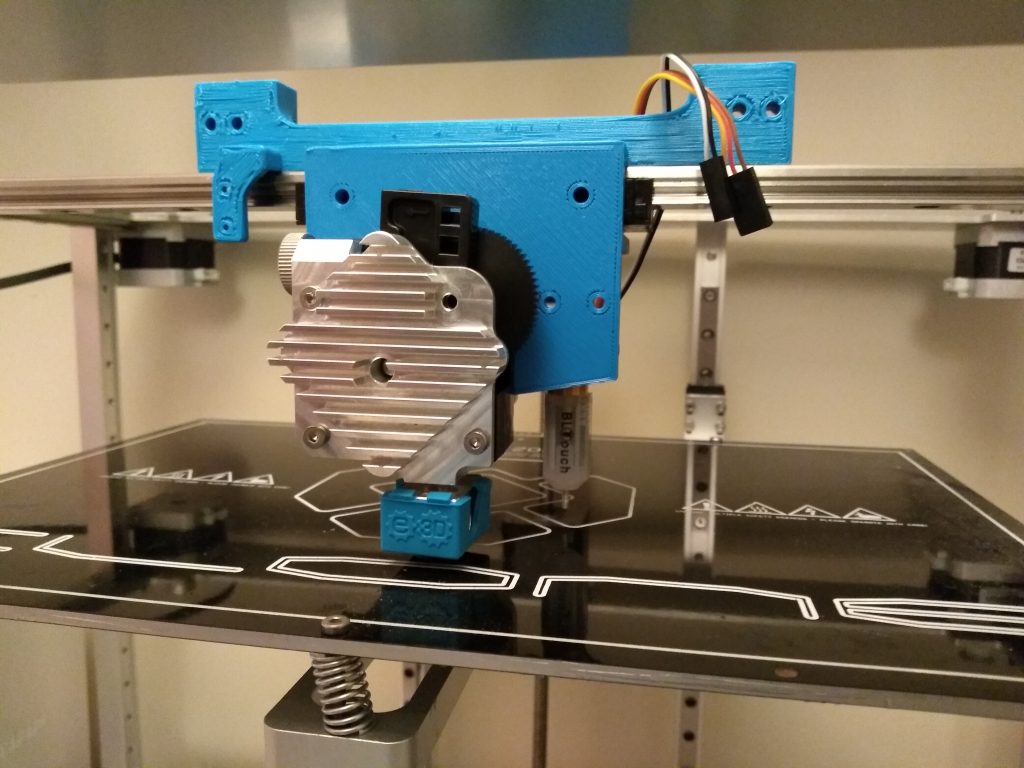
I did a test print of the extruder mount I sketched up in the last post. There were some details I knew I wanted to develop further, such as the limit switch mount locations, and the part cooling fan mounts, but I also wanted to check the general fit and finish for the extruder and BLTouch. This helped me spot quite a glaring error in the belt clamps that I had made due to a math error. The distance between the belt clips needed to be expanded quite considerably (refer to the photo below).

Along with the belt clips, I had made an error on the extruder bolt pattern – not leaving enough room for the NEMA 17 body by about 0.5mm. Silly mistake misinterpreting a drawing. The fit of the extruder was satisfactory on the second print. Along with sizing, I had to make some tweaks around the step motor mount itself as I did not realize how flexible ColorFab XT was. It seems it gives up some of the stiffness of PLA for much higher toughness (this is purely speculation at this point).
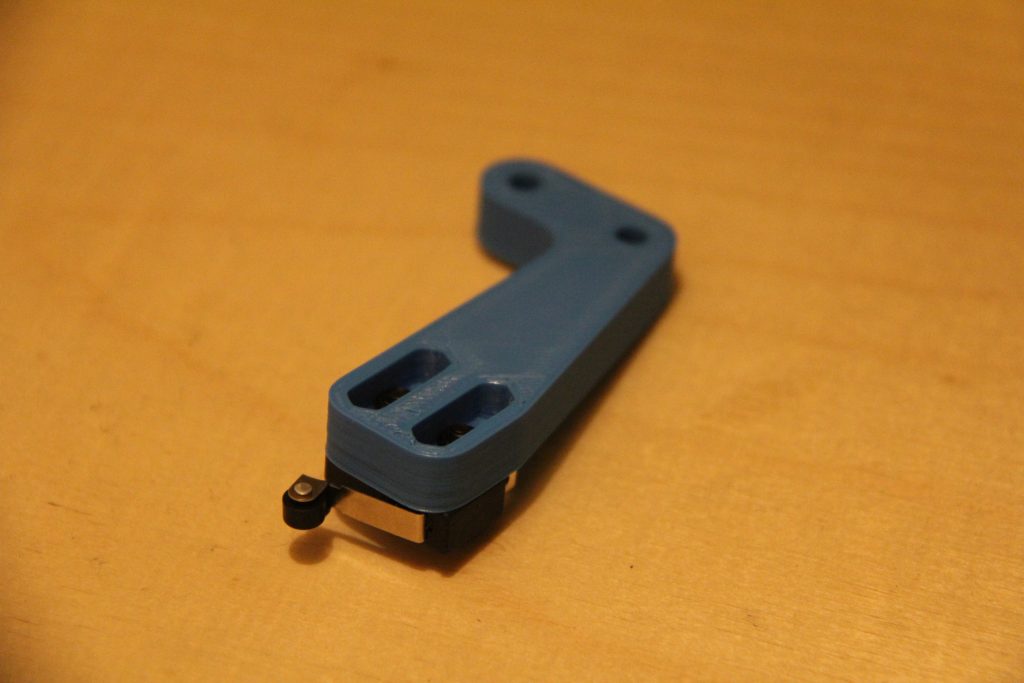
Happy with the second print, I drew drafts of some smaller parts, the other half of the belt clips, an x-axis limit striker, and a y-axis limit switch mount. I ended up making a slight mistake on the X-Limit switch mount (see above) which resulted in a slightly different sticker, thankfully a sub 2-minute change in the CAD. The striker has a good 10mm of adjustment to make sure I can get the most out of the print volume.

The Y-limit mount uses a slightly different idea, as the limit switch itself is movable. I do not have long enough bolts to mount the unit as of now, but the shot below sums it up. The Y-limit will sit on the opposite side of the printer to the X-limit.
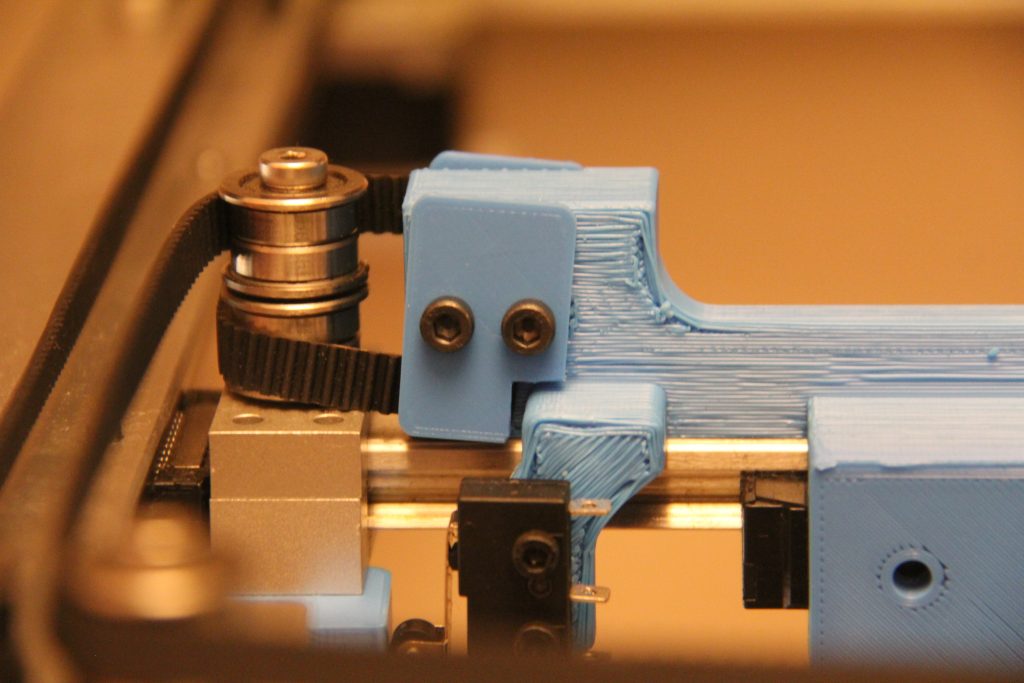
Lastly, the belt clips, and for an anecdote about why it is very beneficial to have a complete CAD of the project you are working on, I present to you the front left belt clip. Nestled quite snug up against the X-Limit mount. So much so that it needed to have a corner removed in order to fit properly.
Well… That about sums up the work completed over the last 10 days or so. As I mentioned in the first bit, my hope of keeping the works logs going on a session by session basis was put to the test, but I am glad that I could still write this one. There are still some fit and finish items to address with the newly printed parts, such as getting the correct bolt sizes. Then I hope to run some sort of sanity check on the belt system with the hope of ascertaining its ease of maintenance and stiffness. I don’t think what I have come up with is a massive departure from what the designers have in mind for the original printer, but this is the most ‘printer design’ I have done in many years, so a double check or two will help tremendously.